About Me

New Hartford, Connecticut, United States
Name: Todd Russo Location: New Hartford, CT, USA

Wednesday, December 2, 2015

Two months of bloglessness


It’s been over two months without much progress on Old Biddy. More on that in a moment…

First, I received a message from a reader about what was done to the baby moon hub caps to “fix the problem”. Since winter is approaching and the snow tires will be put on the Fiat in a few weeks, I had to get them done. As an experiment, I poured some Evaporust into each hub cap and let it sit for a day until the greenish liquid turned black.
 

Since I did not know that this operation was going to be blogged, I did not take any pictures of the de-rusted caps. But believe me…this stuff works great!! I cleaned them out with hot water and dish soap then dried them off and let them sit for a couple hours to let the water totally evaporate. Then, I just sprayed them first with a rust inhibiting coating, and then primered, and clear coated them.  They are not perfect but no one will see that, and I just hope it preserves and protects them for a while.
 

Now back to Old Biddy…I could go on a full on rage induced rant about what I have been through with the State of Connecticut Motor Vehicle Department, but I will not. One good thing that came out of the whole “ordeal” is that she is fully insured now. Once spring rolls around, I will be back on task of having her registered. I will leave this year by giving you one word of advice…Never ever buy a car (in your state, or out of your state, or country) without a title!! So for now, Old Biddy has been put to bed where she can dream of being fully completed and driving legally on the road.
 

The thought that has been coming back to me is that “it is not meant to happen yet.” It will.

Thanks for visiting.

Toddy

Sunday, September 27, 2015

Hub caps and trim mock up


Sometimes we all have to treat ourselves…just because. This past month was like that for me!

After selling a bunch of “stuff” on that auction site, I saved up enough to buy some NOS hub caps from Classic British Spares in Birmingham, England. They are absolutely STUNNING!!
 

One thing that I really loved about them is that the inside of the hub caps are coated and the badge attachment was epoxied. This will help to protect them and prohibit rusting.
 

I bought some “baby moon” hub caps for my Fiat 500 winter tires last year. After just one season in the northeast winter road crud, they rusted. Hopefully this will not happen to the 1100 even though it will not be driven in winter. Looks like I will have to do something about the baby moons before reinstalling them this year.
 

I mocked up the passenger side trim strips with tape and put a new hub cap on just to feel the aura of a finished car. And again (even though the trim strips need polishing), it is STUNNING, if I do say so myself!!


I put my paperwork into the state government to apply for the title. After three weeks (and they still have my $25 check), I have not heard back. Still no word back from Al to do color sanding after about a dozen calls all summer. I guess I will have to be more aggressive as I have already paid for his service!! Stay tuned!

Thanks for visiting.

Toddy

Saturday, August 29, 2015

Wheels, tires and more.


It took the powder coating shop a week and a couple days to work on the wheels, but the wheels finally were stripped and powder coated and ready for me to pick them up. I brought them to a place called Plas-Tec Coatings in East Windsor, CT. I was home by 10AM.

They were very accommodating and did great work at a great price!
 

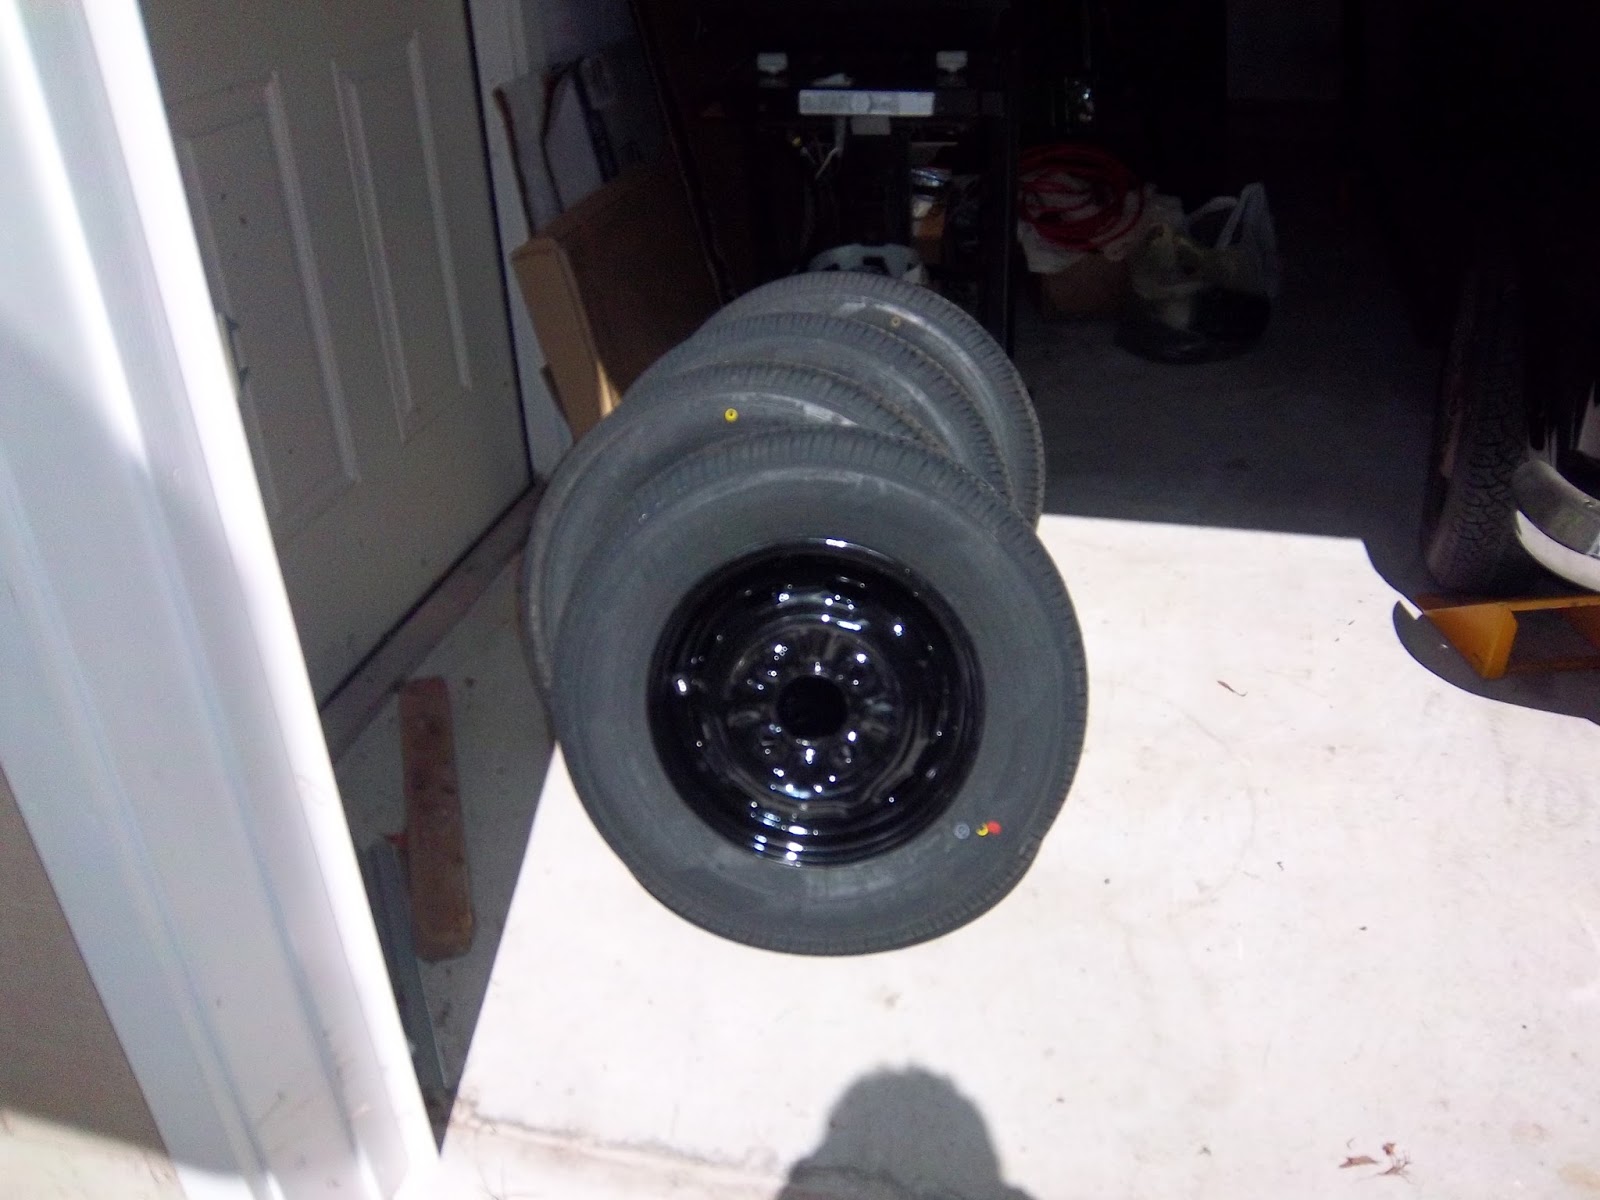
Later that morning (at around 11AM), I took the new Nankang tires and wheels down to my local tire shop to have them mounted and balanced. The shop was a bit pricey but they always do good work. Also, the job was done within an hour. I was home by 12:15PM.
 

After lunch, I went out and mounted them to the car, because after all…I just could not wait to get the rusty ones off. It was 1:30PM when these pictures were taken.
 

I think they look awesome!! Now I am searching for a set of original MG 1100 hub caps, which are rare and expensive! After this picture was taken, I went for a cruise up the road, one mile up, one mile back. Everything, and I mean EVERYTHING worked fantastically!! What a difference new tires make!!
 

When we had three day stretch of gorgeous weather between the heat waves last week, I took a morning to figure out how to wire the rear trunk (boot) lid handle light, which was the last electrical item that had to be finished. It was quite simple to connect the wire to the tail running light connector, then run the wire up the hollow trunk hinge and through the hollow trunk lid. At first there was a grounding issue that puzzled me, but, it turned out to be something I easily overlooked. Now it works and looks great. The handle will have to be removed whenever the car gets color sanded.

As a little side story, my father in-law took my son and I out in his restored 1960 Boston Whaler 13 a mile and a half out to this point. This is a famous daymarker in Mattapoisett on Buzzards Bay, Massachusetts. For twenty years I have been yearning to go out to this and take a picture of it as it is mentioned quite a bit in all the navigational literature but it has never been pictured on the internet. You see it here first!! Here is the Cormorant Rock daybeacon complete with Double crested Cormorants!


Next big tasks are getting the title search and registration done, and getting the car color sanded so that all the trim and stuff can get put on.

Thanks for visiting.

Toddy

Tuesday, August 4, 2015

Punching the finishing punch list


With the car now drivable and all major systems working properly, I can concentrate on getting the final bits and pieces all buttoned up for DMV inspection.

Here is the list:
 

The tires arrived a couple weeks ago. I decided on Nankangs because first, they are one of the only companies that makes the correct size; and second, because the reviews have been good about them.
 

I also ordered trim fasteners (part no. BSF078P) from Bresco in the UK. This car requires 42 fasteners. Howard was awesome to deal with!!
 

As for actual work on the car…the bumper bolts were finally switched out to the correct smaller ones that I got from Aaron in Oregon a couple months ago. They just look “right” now.
 

But, there is one hole that does not align on the right (passenger) front corner. That is for another day.
 

Her sun visors (sunscreens) were installed. I decided to put in the original black ones that I had rather than the ones I got from Aaron just because they were the ones that came with the car.
 

And, to make Old Biddy an official car again, her “Commission No.” plate was riveted in place! I had to look at the photos from nine years ago to make sure which way up was correct.
 

The dashboard screws were all attached as well. No picture to prove it though. The next task is getting the wheels blasted and powder coated and the tires installed. Then hopefully the body can get color sanded so all the trim can be applied.

Thanks for visiting.

Toddy

Monday, July 13, 2015

Maiden voyage!!!


With the weather not cooperating last week, I had to wait for the weekend to install the driver’s side striker plate. I found out that the battery charger was hooked up wrong so I took the battery out of the car and tried again.. The battery did fully charge up after all. After it was put back in the car, Old Biddy was driven outside where there was plenty of room to move around.

Since I kind of knew what I was doing this time, this striker plate went on in only an hour, a third of the time! And it works perfectly!
 

After triple checking to make sure the door closed smoothly, stayed shut, and opened with both the interior and exterior handles, I called my wife outside and said, “I’m going for a ride!” “Are you sure?”, she replied. Then I said, “Here’s the camera…I’m going. Document this!” I did a quick pre-flight test to make sure all the instruments were reading correctly and everything was sounding as it should.


Then I released the handbrake, shifted into 1st gear, and released the clutch pedal as I gently pressed the accelerator. With that, we began the slow taxi up our steep driveway.
 

I took off up the hill to our nearest neighbor about 850 feet away with a top speed of 28mph and turned around in their driveway. I would have gone further but her tires are cracked and very unsafe.
 

Then we headed back down the hill towards home.
 

Everything worked well! I was so excited I had to stop at the top of our driveway to give my wife the thumbs up!!
 

Then we slowly drove back down the driveway to park and have a post-flight inspection.
 

Notes: The hydrolastic suspension is amazing! Our road is very bumpy. I am used to riding in my Midget and Fiat 500 and feeling every bump in the road. It felt as if I was riding in a boat, everything was smooth.

Shifting is like it was my brother’s old VW Rabbit or stirring a pot of spaghetti. Eventually you will connect with the gear, be patient!! I only used 1st, 2nd, and reverse.

The brakes worked great, the drivetrain worked great, all the electrics worked great, the suspension worked great. Next, the post-flight fiddling and finishing so she can become an official vehicle again.

There is still a punch list of things that need to be done before she can be taken through the State of Connecticut Department of Motor Vehicle (CT DMV) inspection (or as the folks in Britain say "MOT"). Connecticut is the strictest and most expensive in the US!! I hope to have her registered and insured before she gets put to bed for winter. I ordered new tires and they should be arriving today, so that can be taken care of. The next big thing is to have her color-sanded by Al, who did her bodywork and painting.
 
Thanks for visiting.
Toddy
 

Tuesday, July 7, 2015

The passenger side door latches!!


It took courage and about three hours, but the passenger side door now closes on original MG 1100 latches!!

The first step was to locate where the striker latch gap had to be. The door rubber seals were removed so that the door could be shut tight. Modeling clay was then placed onto the plate and the door was closed. The door latch grooved into the clay and made a starting point of where to position the striker latch.
 

The striker latch was then placed into the clay and the door was opened and closed many times until the door latch slid into the striker latch without moving it.
 

Once the position was correct, a screwdriver was poked into the clay to approximately mark where the holes were going to be drilled on the flat plate.
 

To make sure everything lined up before drilling into the flat plate and the car body, double sided Velcro was stuck to the striker latch and the door was closed onto it. It only had to be moved 1mm from where it was stuck on!!
 

A Sharpie was used to mark the holes on the flat plate. Then it was brought down into the workshop where I drilled the holes and did the countersinking for the other three screws.
 

I bought the drilled flat plate back upstairs, reattached it and then said a prayer as I drilled into the car body. After drilling each hole, it was tapped out with a ¼ -24 tap, and the screws were screwed in.
 

I know, I know…it is quite an eyesore and a lot of work for something that could have been done easier. But, it works nicely!! After the car gets rolling, the flat plate will need some cosmetic attention.
 

But the door closes tight and securely!! I just have to reattach the rubber door seal and do the driver’s side door.
 

Now that I did the first one, I know what is involved and how long it will take. The other one will be my Thursday project. The battery was hooked up to a charger and I found out that the battery is not taking a charge. It is only three years old!!

Thanks for visiting.

Toddy

Monday, June 29, 2015

Door alignment and setting


After three months of life getting in the way, my great friend and bandmate, Mik, came to help me get the doors aligned and set. Mik plays drums and I play bass…we are the rhythm section. And boy, did we get into a nice rhythm when we worked on the doors!

The doors were only hung on the car and not lined up or even secured properly.
 
They needed total adjustment and fitting.
 

When it comes to working on cars, Mik knows what he is doing. We made a good team. He held the doors while I turned the screwdriver.
 

We opened and closed the passenger door only three times before both of us were pleased with the gap evenness and how the body line flowed smoothly.
 

The driver’s door was more of a challenge. We had to shim the bottom hinge 3/16ths of an inch before it was correct.
 
A little more fiddling and the door went into place just like the other side!
 

After two hours, we decided to call it quits for the day. The best part of the day…the blue tape is gone!!


But there are some scuffs that need to be addressed along with other minor issues which will be taken care of  after she is drivable.
 

Now that the doors are finally set, I can work on getting the latches in place. But the doors do not close because of the width of the rubber seal, which will have to be removed and then reinstalled after the latches are set.
 

This is the last item on the list that needs to be done before I can take her on her maiden voyage!!
 

School is on summer break so I hope to get more work done next weekend.

Thanks for visiting.

Toddy